How do you achieve the World Domination without a descent Doomsday Device?
Sadly (or maybe fortunately), there are no Doomsday Devices in stores
(even in ATF Bureau regulated ones)
That’s fine, I built one from scratch for Halloween.
Here is how it looks in real life:
Watch Demo!
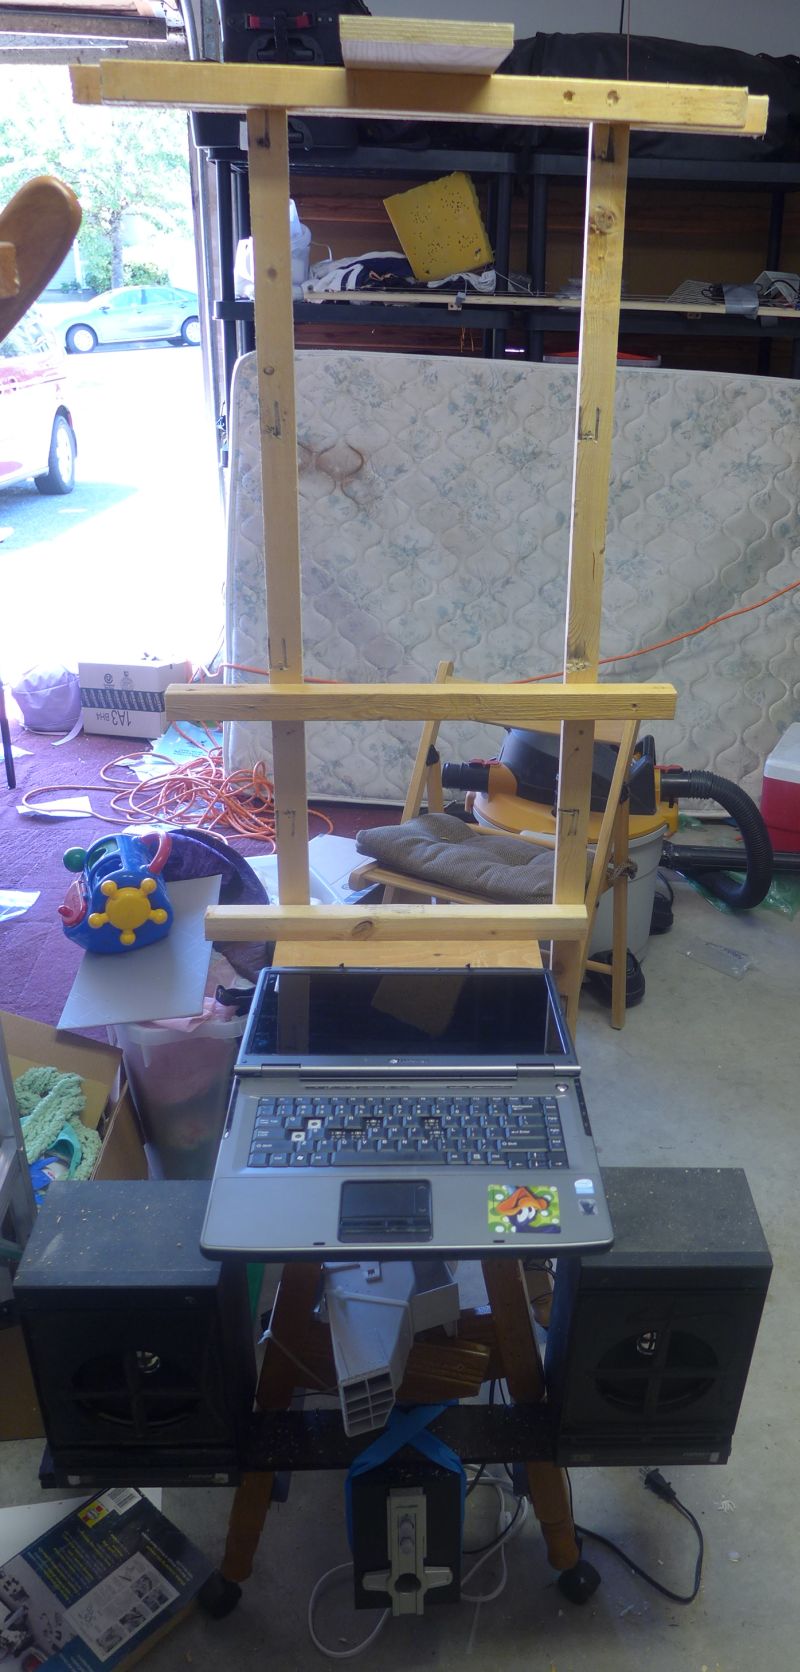
Here is how it looks:

From the back:

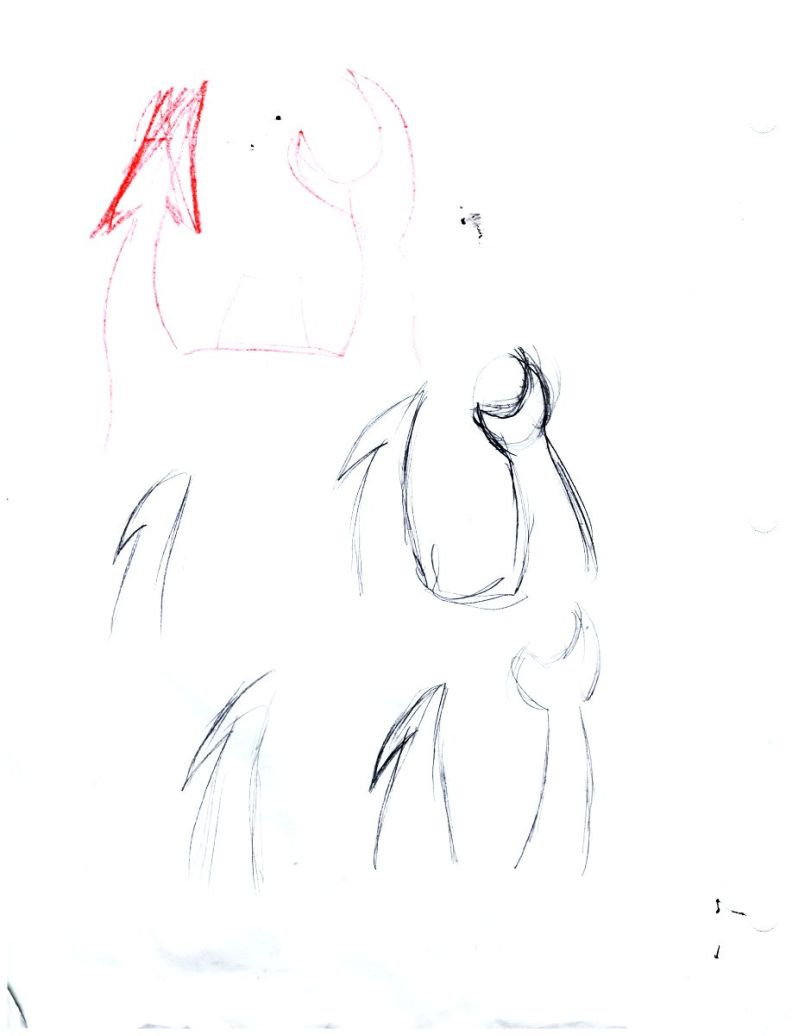
Original sketch made by Xenia:
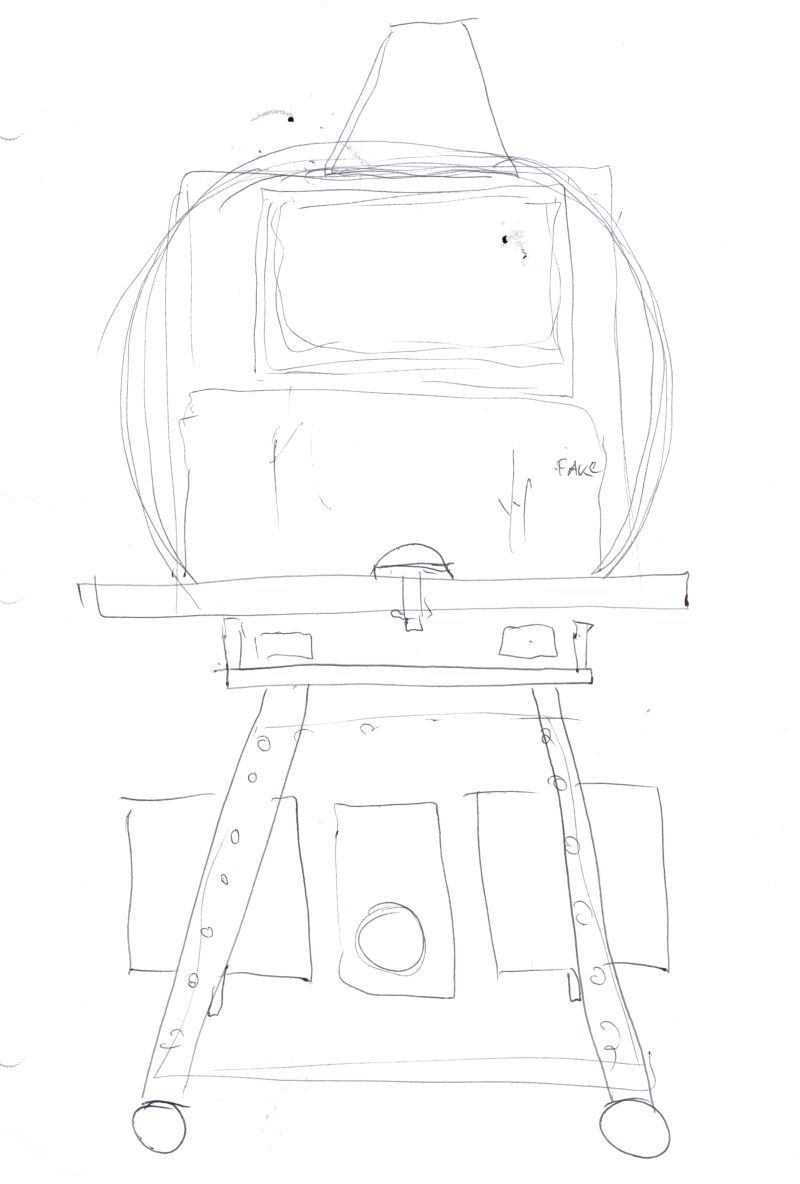
My sketches:
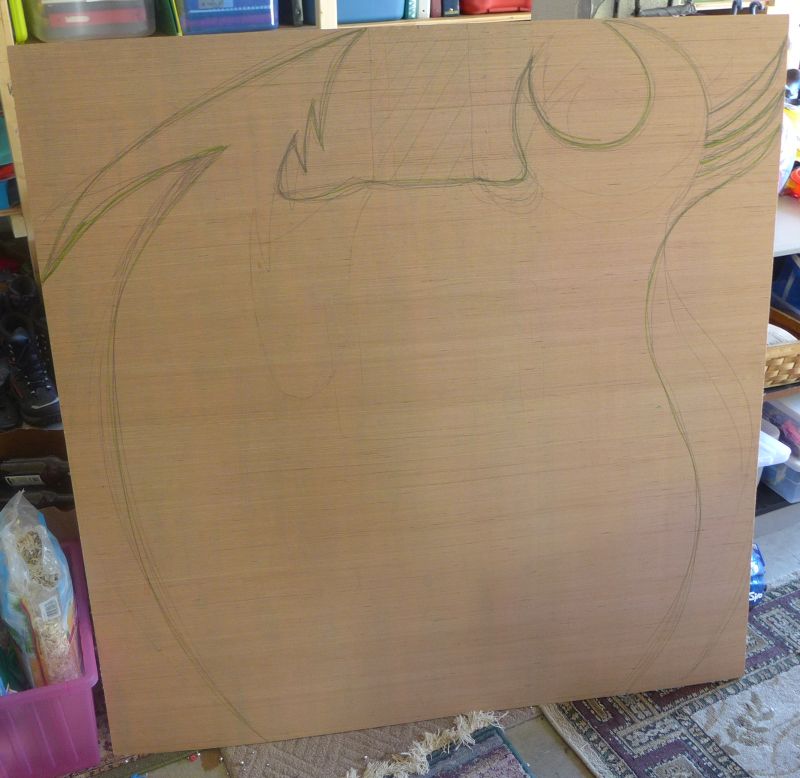
Plywood:
Frame:
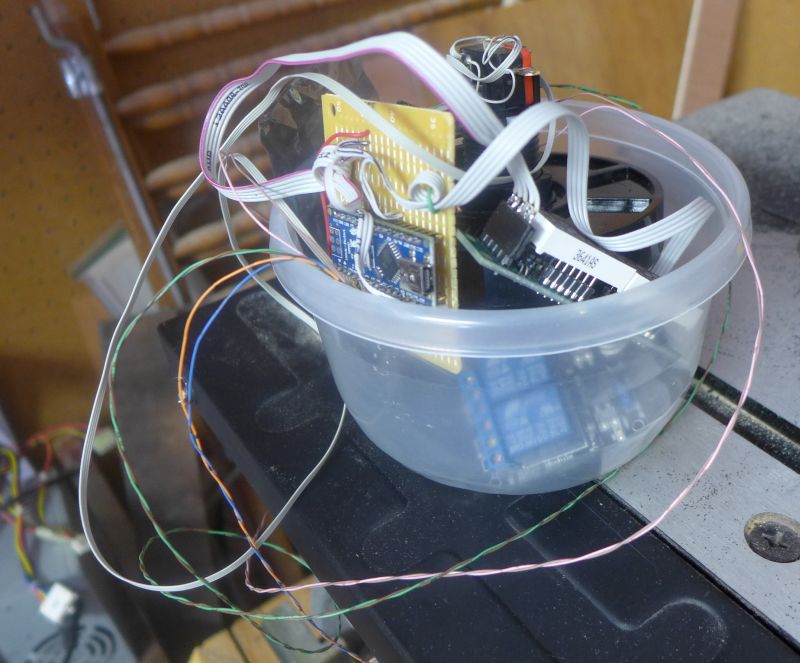
The circuit boards in front are all fake (LEDs are controlled from outside). Here are the real guts:
Painting:
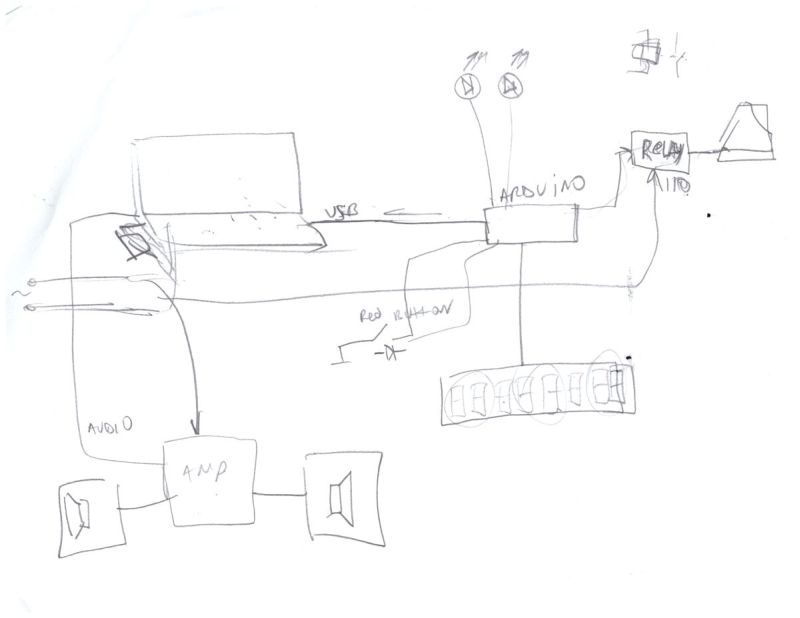
Schematics:
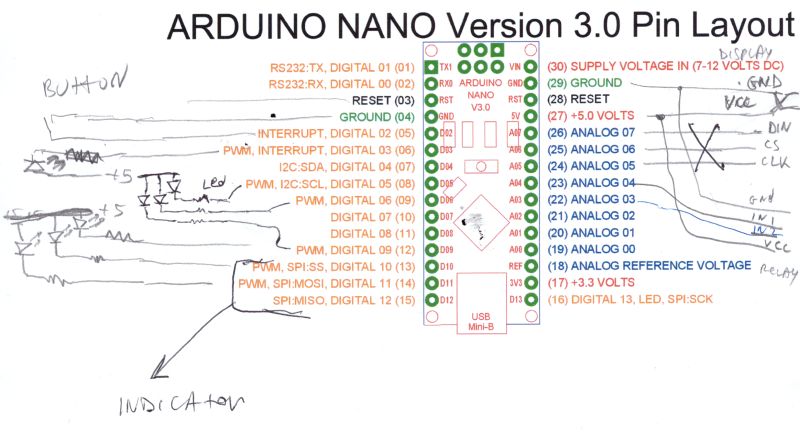
As you can see, I first tried to attach indicator to pins A5, A6, A7. It did not work. Indicator library does not mention it, but the indicator only works on pins 10,11,12. That’s because it uses SPI. I had to dig into source codes of the library to figure it out. Second problem was reliability of serial communications. After many iterations I gave up and purchased second Arduino – this time, 32U4 based. I’m too lazy to start over, so I used the second Arduino just for communication with PC, and kept using the first one for everything else. I use the second Arduino in USB Keyboard mode, and it works flawlessly. Also, it would allow me to make PC part of the software much simpler (no need for background worker), but it was too late.
There are 2 relays on A3 and A4 – one turn ON rotating warning light, the other one turns on a fan. Sound system is plugged into laptop. Both Arduinos are plugged into laptop and powered from it.
Sources:
Source Codes
“DDD” is for the first Arduino. The part with serial communications is not needed and can be removed.
“DDD_MSG” is for the second Arduino – it works in USB keyboard simulation mode and sends “X” code to the laptop when big red button is pushed.
When you program push button handlers on Arduino, take advantage of built-in pull-up resistors, and watch out for interrupt numbers! Interrupt numbers do not match pin numbers!
“dotnet” folder contains WPF application that runs on the laptop (very old laptop with Windows Vista was good enough). The background worker thread is not really needed since I added 2nd Arduino, but I was too lazy to remove it. It requires files “video.wmv” and “audio.mp3” in c:\ddd\
Here is my video file:
Video
Leave a Reply