I made a back light for a microscope based from some very cheap but powerful 12V LED panel!
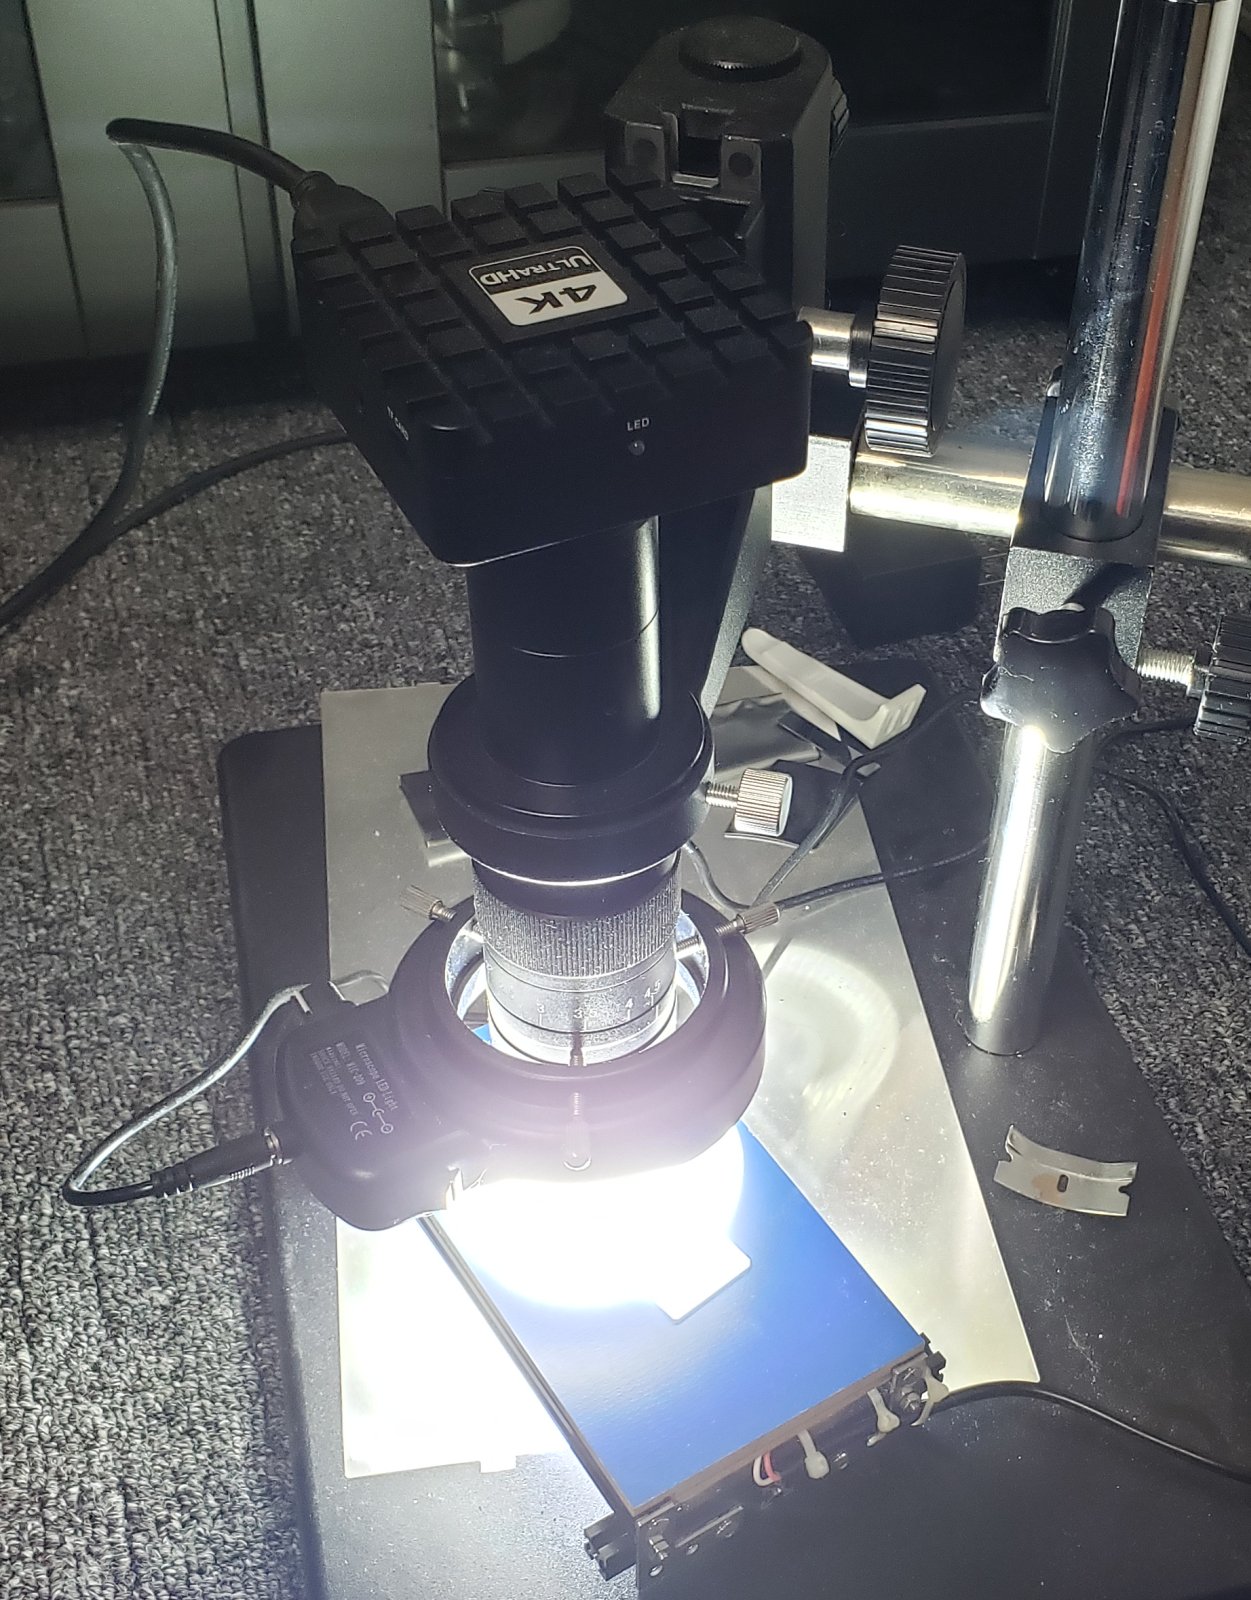
I wish I googled light microscopy first. I would make some Abbe condensed based. Well, maybe it will be my next project. But it works.
I used scaled down equivalent of 2020 extrusion. It is 10x10mm. It is severely overpriced on Amazon, and parts are way too small, but the whole thing is pretty usable.
The most challenging part was to connect to electric pads on the light panel.
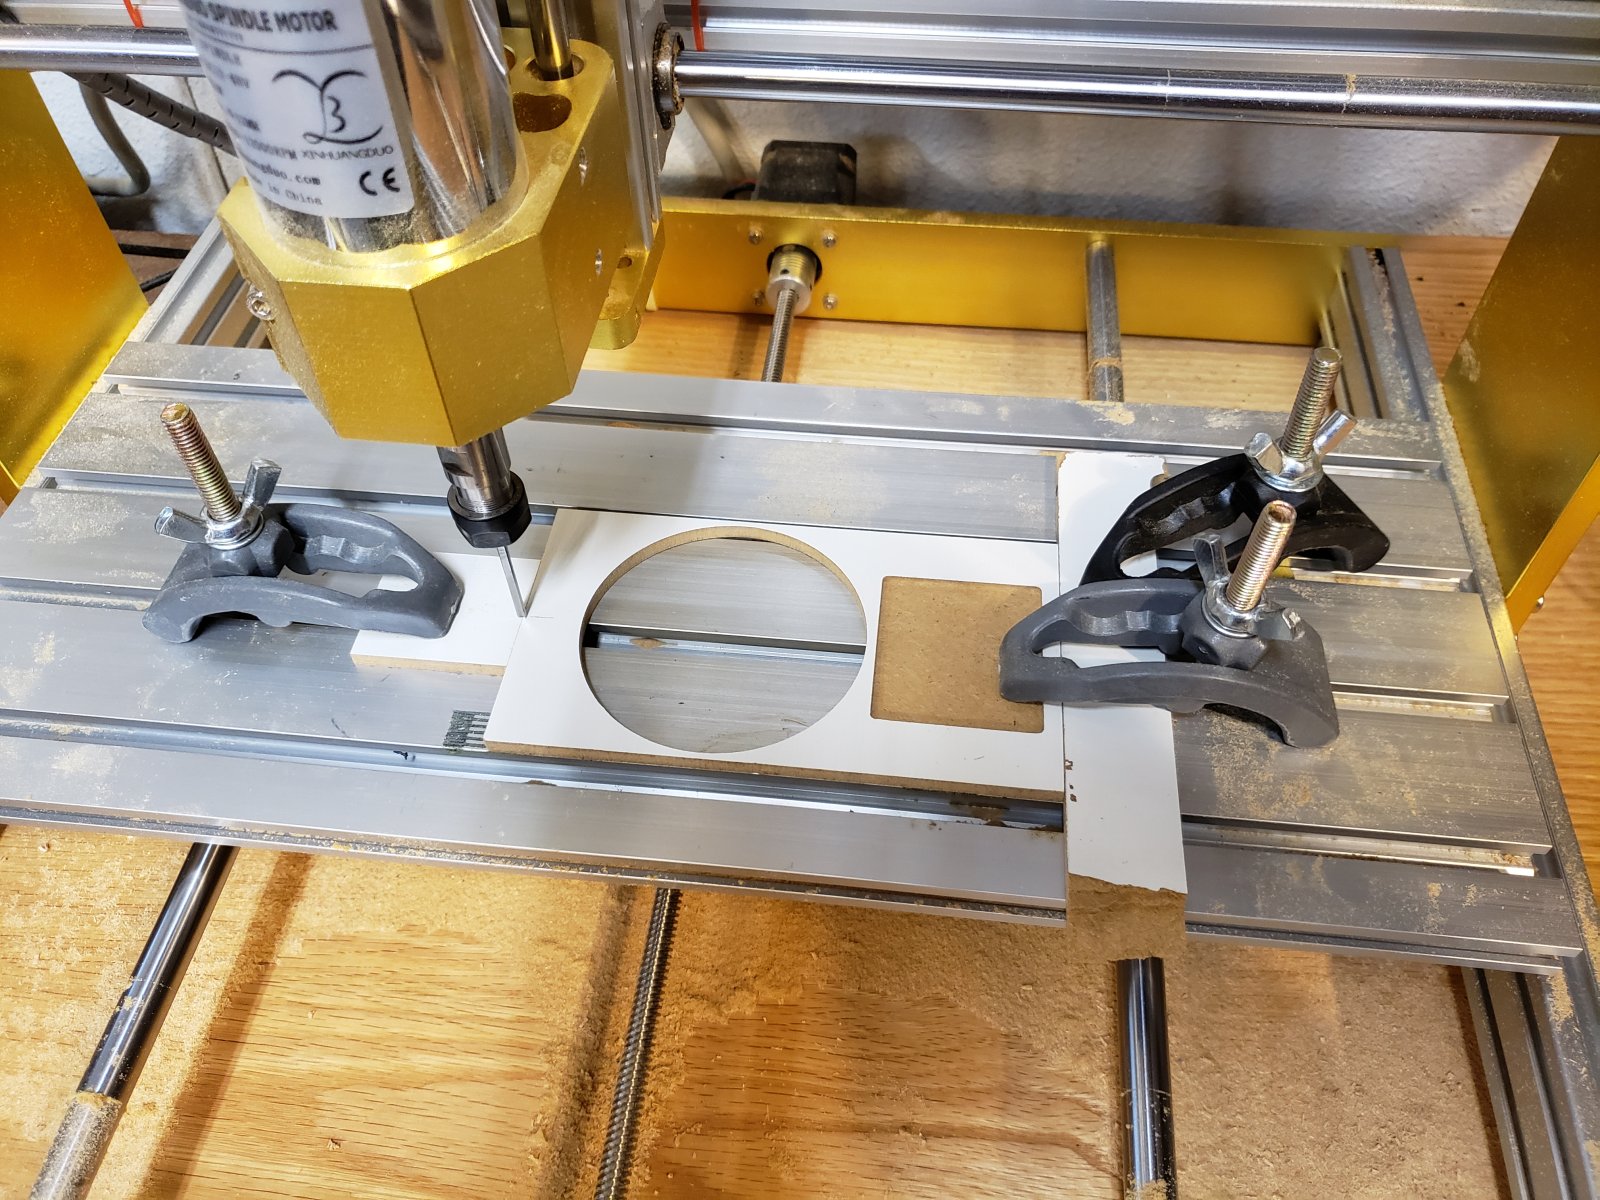
I needed some holder for the frosted glass, and I decided to cut it out from a 5mm board and glue together. (No, 3D printing was not a good option since the LED panel heats up quite a bit)
Here is my design:

Unfortunately, it did not fit and I had to patch it by cutting out 2 more 10mm x 150mm x 1.5mm pockets.
But how do you clamp it? Well here is my creative clamping that actually worked:
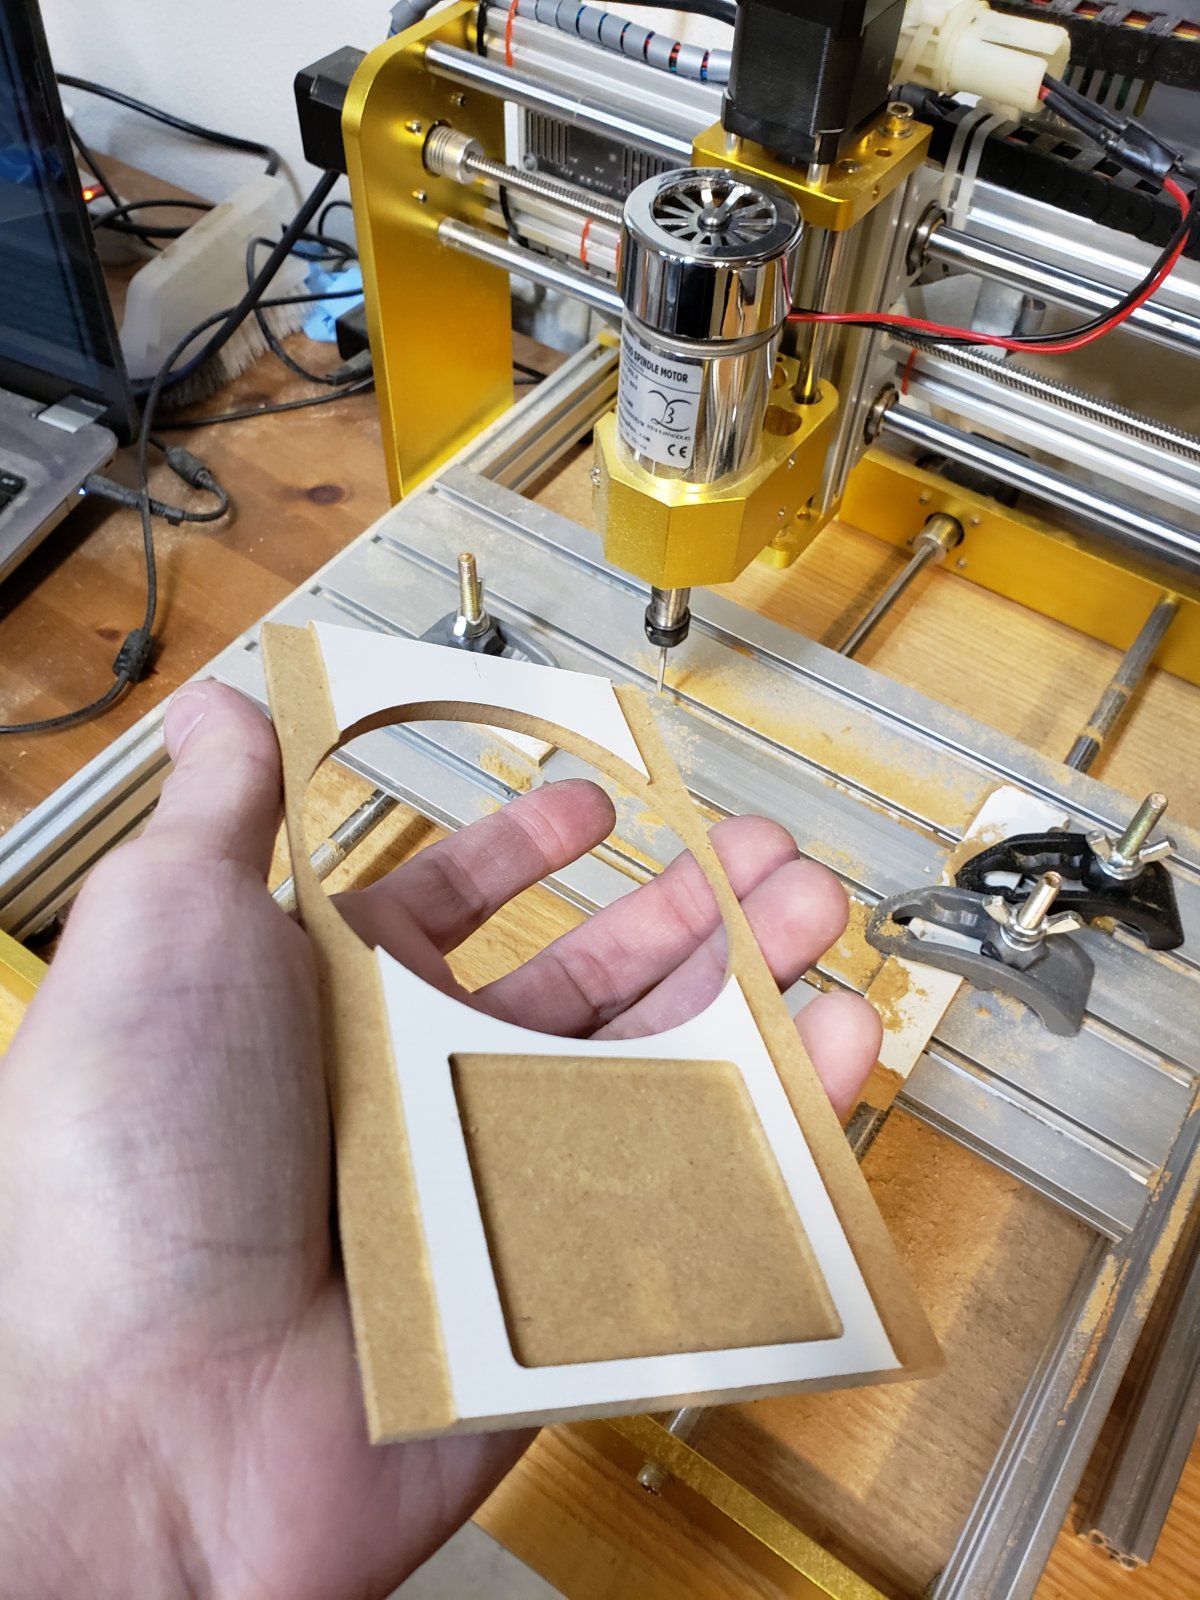
after the mill:
Again, this one was very tricky – you need to align new mill with the old one and cannot clamp over your (0,0) point and cannot travel between the pockets over the clamp.
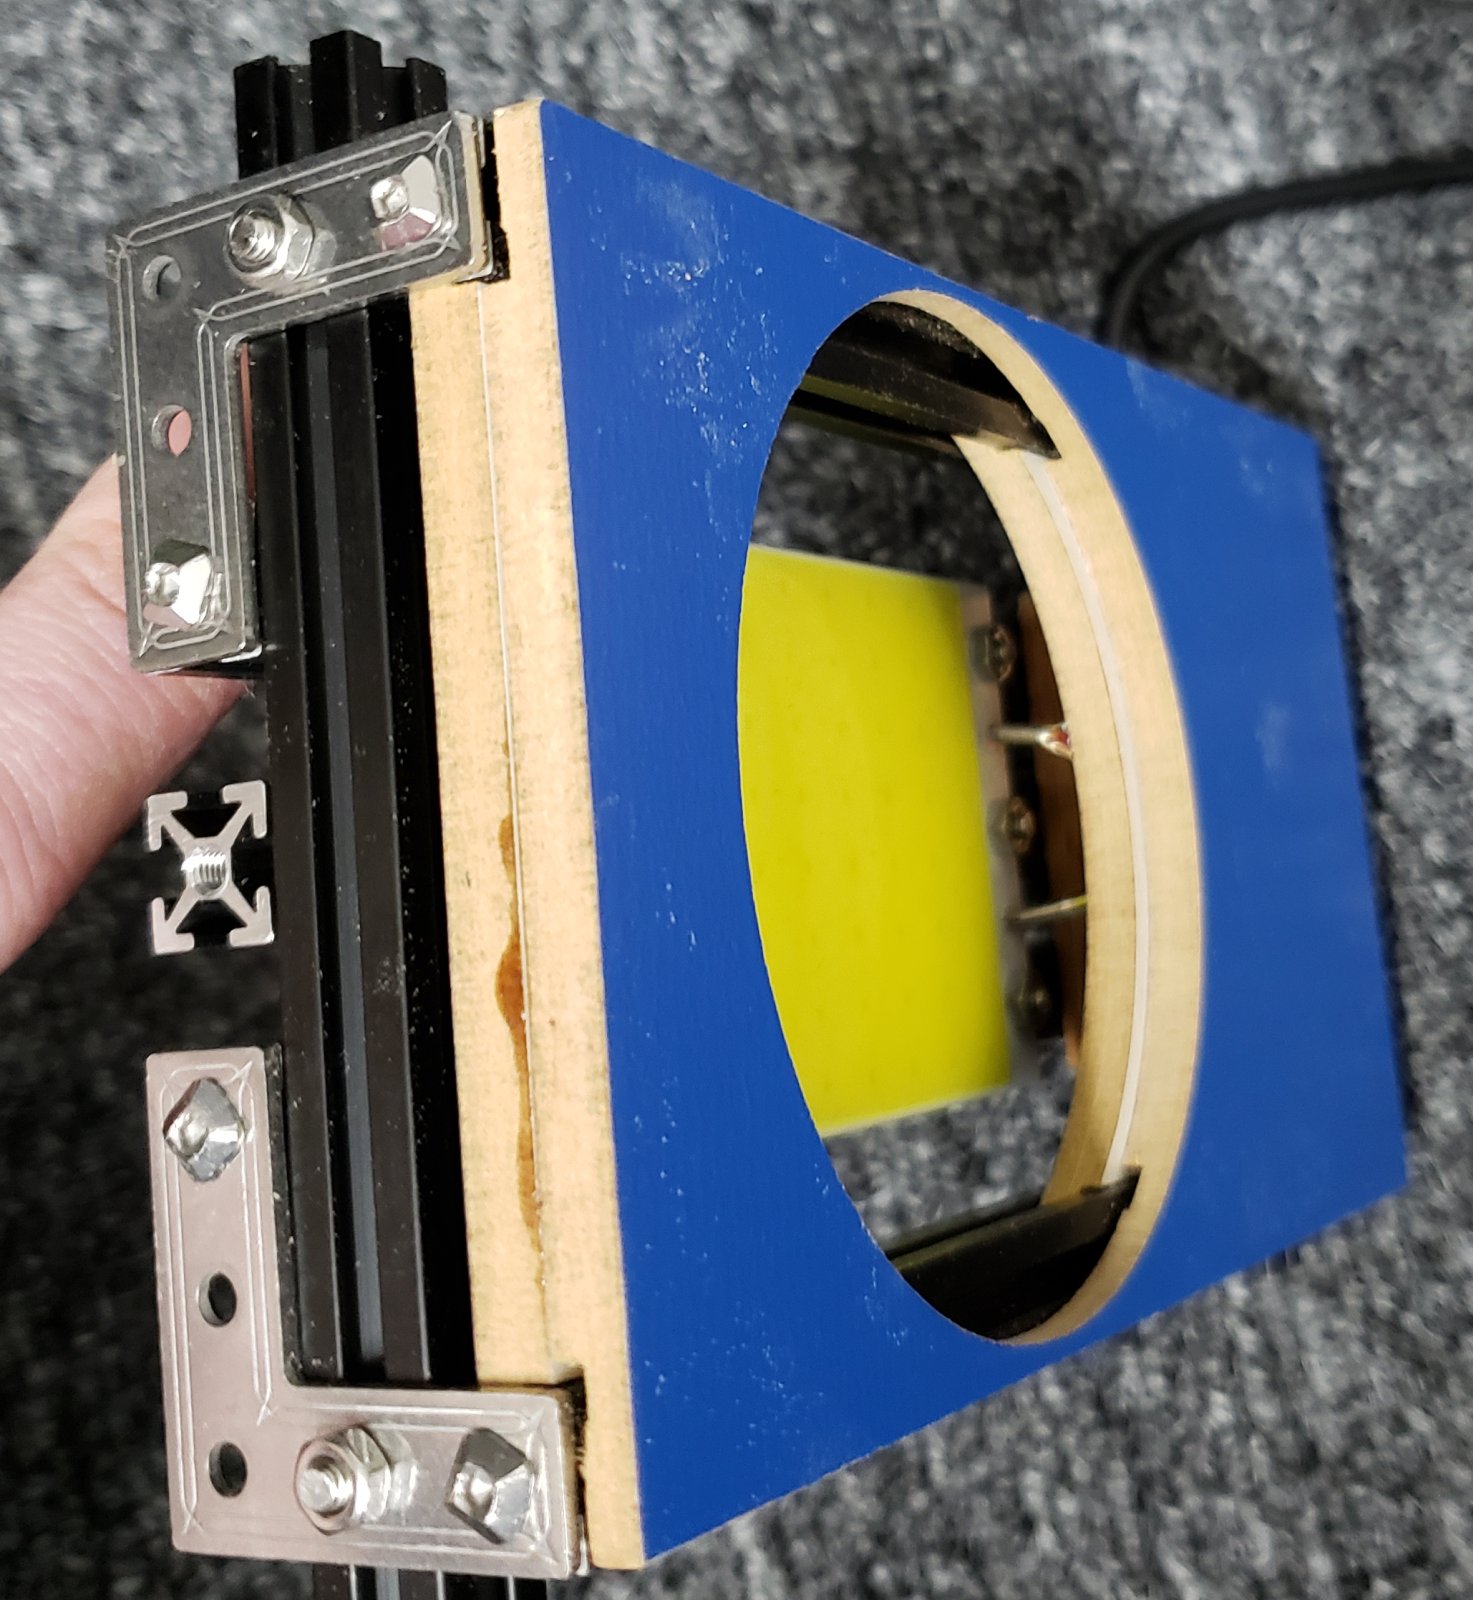
Here is the whole thing assembled:
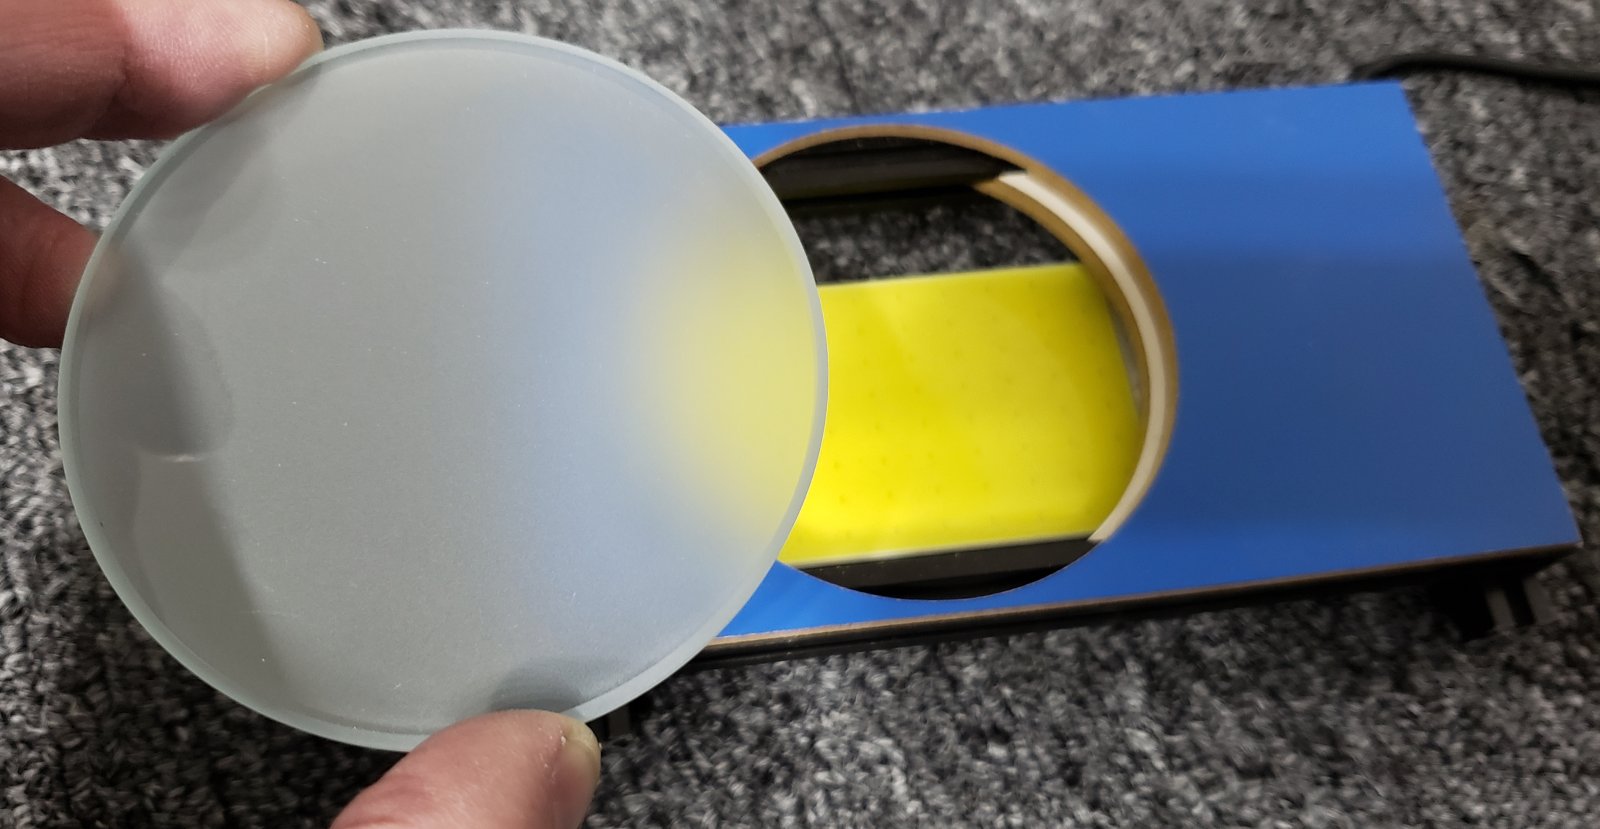
Frosted glass goes on top:
Lesson learned: There is no way in FreeCad Path to mill out a staircase with stair width larger-or-equal to bit diameter. It is somewhat possible to mill the first step from the top by milling-around the top surface and manually moving the path down. For the other steps you are out of luck. Get a thinner end mill. Ok, fine, my bit is wider than the stair surface. But there is an edge I could of mill along – may I? Sadly that kind of micro-management in not available in FreeMill Path.